XAudio2 and Submix Voices
And those who were seen dancing were thought to be insane by those who could not hear the music.
– Friedrich Nietzsche
A submix voice is used primarily for performance improvements and effects processing. SourceVoices can be bundles together into the same submix voice, to, for example, easily change the volume of all music files.
To create a submix voice, we can use the CreateSubmixVoice method:
HRESULT CreateSubmixVoice( IXAudio2SubmixVoice **ppSubmixVoice, UINT32 InputChannels, UINT32 InputSampleRate, UINT32 Flags X2DEFAULT, UINT32 ProcessingStage X2DEFAULT, const XAUDIO2_VOICE_SENDS *pSendList X2DEFAULT, const XAUDIO2_EFFECT_CHAIN *pEffectChain X2DEFAULTThe first parameter returns the address of the newly created submix voice. The second parameter specifies the number of input channels, and the third parameter defines the input sample rate. The other parameters have no use for us at the moment.
// submix voicesIXAudio2SubmixVoice* soundsSubmix;  // collection of all sound effectsIXAudio2SubmixVoice* musicSubmix;  // collection of all music files
// create the submix voicesengine->dev->CreateSubmixVoice(&soundsSubmix, 1, 44100, 0, 0, 0, 0);engine->dev->CreateSubmixVoice(&musicSubmix, 1, 44100, 0, 0, 0, 0);
After having created the submix voices, we have to create an XAUDIO2_SEND_DESCRIPTOR structure, which defines a destination voice that is the target of a send from another voice and specifies whether a filter should be used, as follows:
XAUDIO2_SEND_DESCRIPTOR sendSounds;sendSounds = { 0, soundsSubmix };
XAUDIO2_SEND_DESCRIPTOR sendMusic;sendMusic = { 0, musicSubmix };
The first flag, set to 0, means that we do not want to use a filter. The second member of the structure simply specifies the submix voice the voices should be sent to.
With the XAUDIO2_SEND_DESCRIPTOR structure defined, we have to create an XAUDIO2_VOICE_SENDS structure, which defines a set of voices to receive data from a single output voice, as follows:
XAUDIO2_VOICE_SENDS soundsSendList;XAUDIO2_VOICE_SENDS musicSendList;
soundsSendList = { 1, &sendSounds };musicSendList = { 1, &sendMusic };
The first member being set to 1 means that we want to voices to be sent to one submix voice. The second parameter specifies the send descriptor to use.
Combining those steps together, we get something as follows:
AudioComponent::AudioComponent(){  try { engine = new AudioEngine(); }  catch (std::runtime_error& e) { throw e; }
  // create the submix voices  engine->dev->CreateSubmixVoice(&soundsSubmix, 1, 44100, 0, 0, 0, 0);  engine->dev->CreateSubmixVoice(&musicSubmix, 1, 44100, 0, 0, 0, 0);
  sendSounds = { 0, soundsSubmix };  soundsSendList = { 1, &sendSounds };  sendMusic = { 0, musicSubmix };  musicSendList = { 1, &sendMusic };}
Now when loading a file from the hard drive, we simply chose which submix voice to send it to based on whether we are loading a sound effect or a music file.
enum AudioTypes { Music, Sound };
util::Expected<void> AudioComponent::loadFile(const std::wstring fileName, SoundEvent& soundEvent, const AudioTypes& soundType){  // handle errors  util::Expected<void> result;  HRESULT hr = S_OK;
  // load file into wave  result = engine->loadFile(fileName, soundEvent.audioData, &soundEvent.waveFormat, soundEvent.waveLength);  if (!result.isValid())    return result;
  // create source voice  if(soundType == AudioTypes::Sound)    hr = engine->dev->CreateSourceVoice(&soundEvent.sourceVoice, soundEvent.waveFormat, 0, XAUDIO2_DEFAULT_FREQ_RATIO, nullptr, &soundsSendList, NULL);  else if(soundType == AudioTypes::Music)    hr = engine->dev->CreateSourceVoice(&soundEvent.sourceVoice, soundEvent.waveFormat, 0, XAUDIO2_DEFAULT_FREQ_RATIO, nullptr, &musicSendList, NULL);  if (FAILED(hr))    return std::runtime_error("Critical error: Unable to create source voice!");
  ZeroMemory(&soundEvent.audioBuffer, sizeof(XAUDIO2_BUFFER));  soundEvent.audioBuffer.AudioBytes = (UINT32)soundEvent.audioData.size();  soundEvent.audioBuffer.pAudioData = (BYTE* const)&soundEvent.audioData[0];  soundEvent.audioBuffer.pContext = nullptr;
  // return success  return { };}
Changing the volume of all music files is now as easy as this:
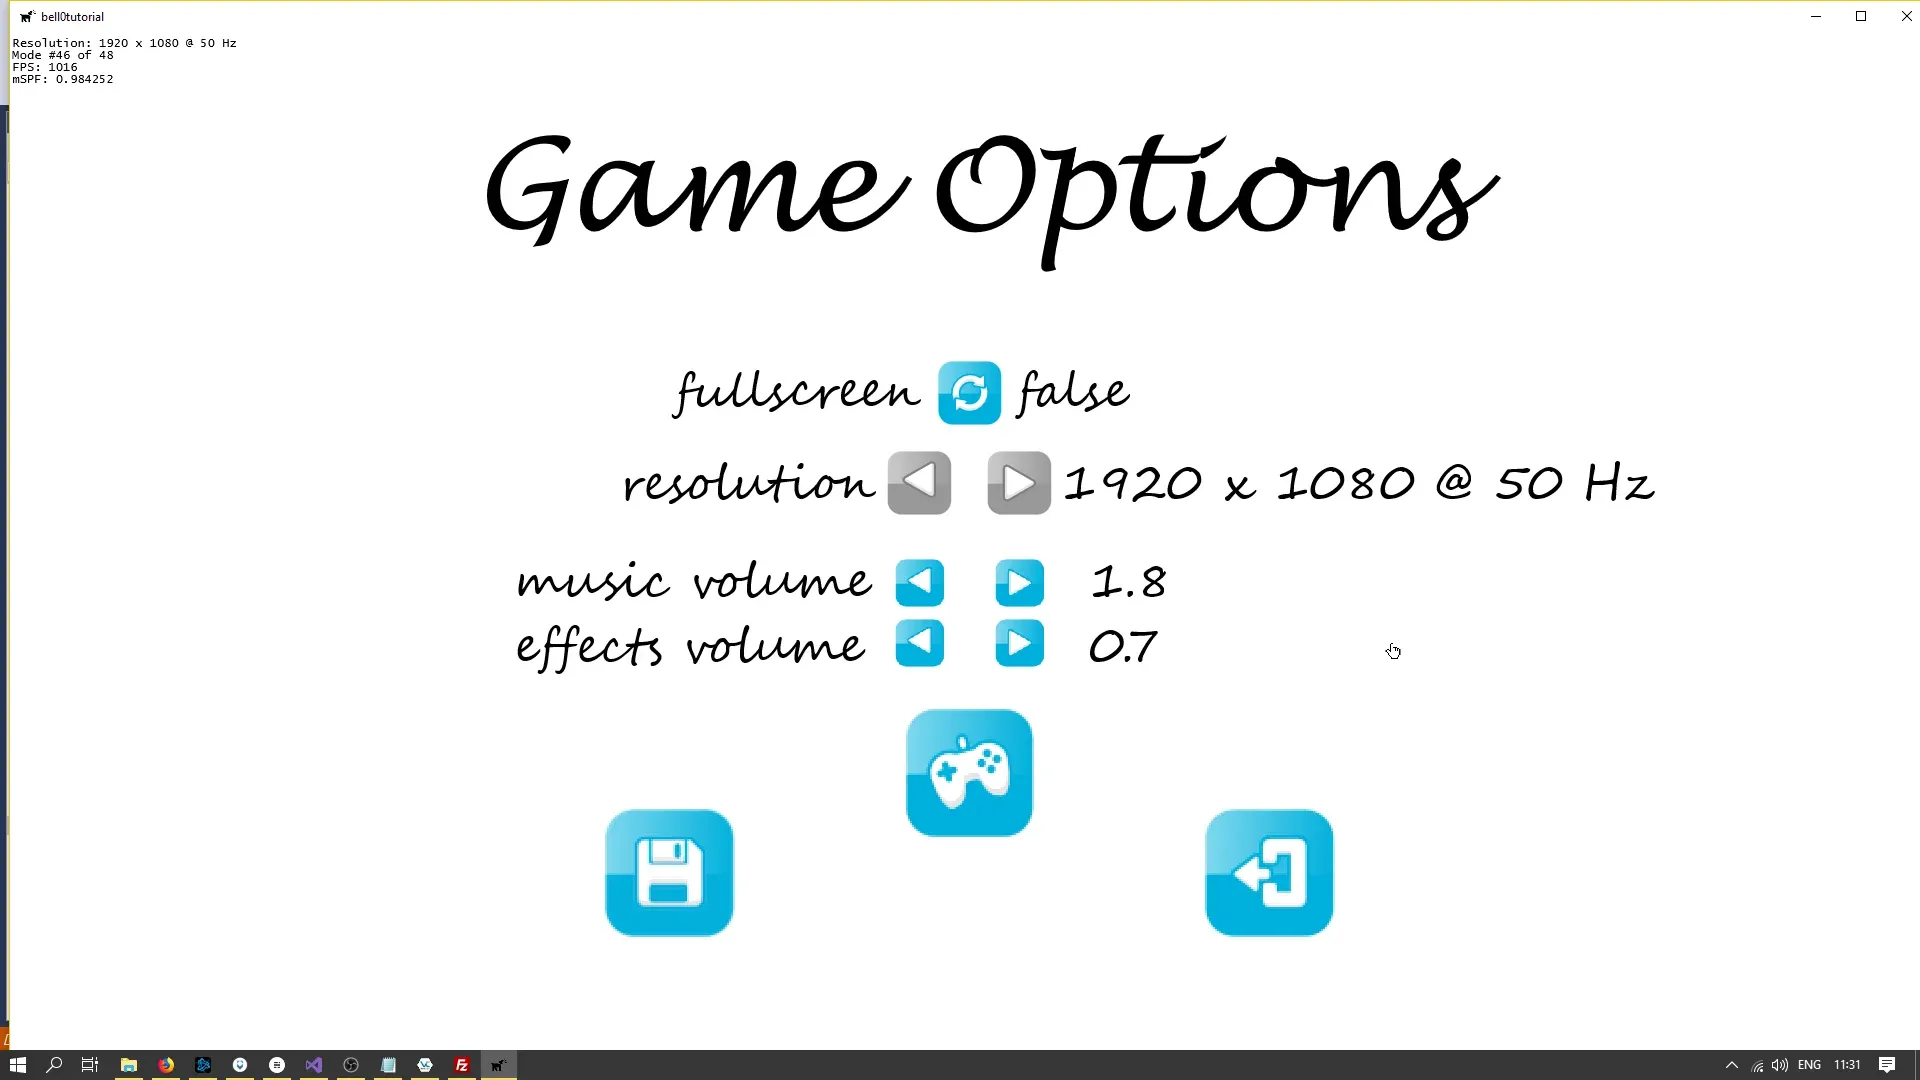
musicSubmix->SetVolume(0.0f);As an example, we will allow the player to change the volume of the music and sound effects in the options menu:
// volumefloat soundEffectsVolume = 1.0f;float musicVolume = 1.0f;
AudioComponent::AudioComponent(const core::DirectXApp& dxApp) : dxApp(dxApp){  try { engine = new AudioEngine(); }  catch (std::runtime_error& e) { throw e; }
  // create the submix voices  HRESULT hr = S_OK;
  hr = engine->dev->CreateSubmixVoice(&soundsSubmix, 1, 44100, 0, 0, 0, 0);  if (FAILED(hr))    throw std::runtime_error("Critical error: Unable to create voice submix!");  hr = engine->dev->CreateSubmixVoice(&musicSubmix, 1, 44100, 0, 0, 0, 0);  if (FAILED(hr))    throw std::runtime_error("Critical error: Unable to create voice submix!");
  sendSounds = { 0, soundsSubmix };  soundsSendList = { 1, &sendSounds };  sendMusic = { 0, musicSubmix };  musicSendList = { 1, &sendMusic };
  // set volume level  loadVolume();  soundsSubmix->SetVolume(soundEffectsVolume);  musicSubmix->SetVolume(musicVolume);}
void AudioComponent::setVolume(const AudioTypes& audioType, const float volume){  if (audioType == AudioTypes::Music)  {    musicVolume = volume;    musicSubmix->SetVolume(volume);  }  else if (audioType == AudioTypes::Sound)  {    soundEffectsVolume = volume;    soundsSubmix->SetVolume(volume);  }}
const float AudioComponent::getVolume(const AudioTypes& audioType) const{  if (audioType == AudioTypes::Music)    return musicVolume;  else if (audioType == AudioTypes::Sound)    return soundEffectsVolume;  return 1.0f;}
// load volume from preference fileutil::Expected<void> AudioComponent::loadVolume(){  if (dxApp.getFileSystemComponent().hasValidConfigurationFile())  {    // configuration file exists, try to read from it    std::wstring pathToPrefFile = dxApp.getFileSystemComponent().getPathToConfigurationFiles() + L"\\bell0prefs.lua";
    try    {      sol::state lua;      lua.script_file(util::StringConverter::ws2s(pathToPrefFile));
      // read from the configuration file, default to 1920 x 1080      musicVolume = lua["config"]["musicVolume"].get_or(1.0f);      soundEffectsVolume = lua["config"]["soundEffectsVolume"].get_or(1.0f);#ifndef NDEBUG      std::stringstream res;      res << "The client resolution was read from the Lua configuration file: " << clientWidth << " x " << clientHeight << ".";      util::ServiceLocator::getFileLogger()->print<util::SeverityType::info>(res.str());#endif    }    catch (std::exception)    {      util::ServiceLocator::getFileLogger()->print<util::SeverityType::warning>("Unable to read configuration file. Starting with default volume: 1.0f");    }  }
  // return success  return { };}
This was short and easy. You can download the source code from here.

In the next tutorial, we will learn how to stream music from the hard drive, i.e. how to play audio without having to completely load the entire file into memory first.
References
Literature
(in alphabetic order)
- Game Programming Algorithms, by Sanjay Madhav
- Game Programming Patterns, by Robert Nystrom
- Microsoft Developer Network (MSDN)
- Tricks of the Windows Game Programming Gurus, by André LaMothe
- Wikipedia
Audio
- button by fins
- Big Dog Barking by mich3d
- Button Click by fins
- Cat Meow by Noise Collector
- Nodens (Field Song) by axtoncrolley
Art
- Cat and Dog by pzUH
- GUI Buttons by looneybits
- Menu Buttons by Soundemperor.
- Music by ironflower86
- TexturePacker
- Wikipedia