Fun with Brushes
It fills all Space, and what It fills, It is. What It thinks, that It utters; and what It utters, that It hears; and It itself is Thinker, Utterer, Hearer, Thought, Word, Audition; it is the One, and yet the All in All. Ah, the happiness, ah, the happiness of Being!
--- Edwin A. Abbott
In the previous tutorials, we have used different brushes to print text to the screen or to draw simple geometric shapes. In this tutorial, we will learn more about those brushes and the different brushes that Direct2D can provide us with.
Remember that brushes are device dependent resources.
Solid Brushes
We have used solid brushes in the previous tutorials, and thus there is not much new to learn. The first thing to note, however, is that Direct2D brushes are mutable, that is, their properties can be changed on the fly.
Colour
For example, if you would rather not save a brush object for each different colour, you can change the colour whenever you want:
d2d->redBrush->SetColor(D2D1::ColorF(D2D1::ColorF::Blue));Opacity
One can also change the opacity of the brush:
d2d->yellowBrush->SetOpacity(0.2f);The SolidColorBrush is very lightweight though, it does not eat up many ressources, and thus it might be a good idea to save a few different colours, just for ease of use.
The Linear Gradient Brush
This brush paints a linear gradient between two points (of different colours) on the so-called gradient axis.
Here is an image of a rectangle filled with a linear gradient brush:
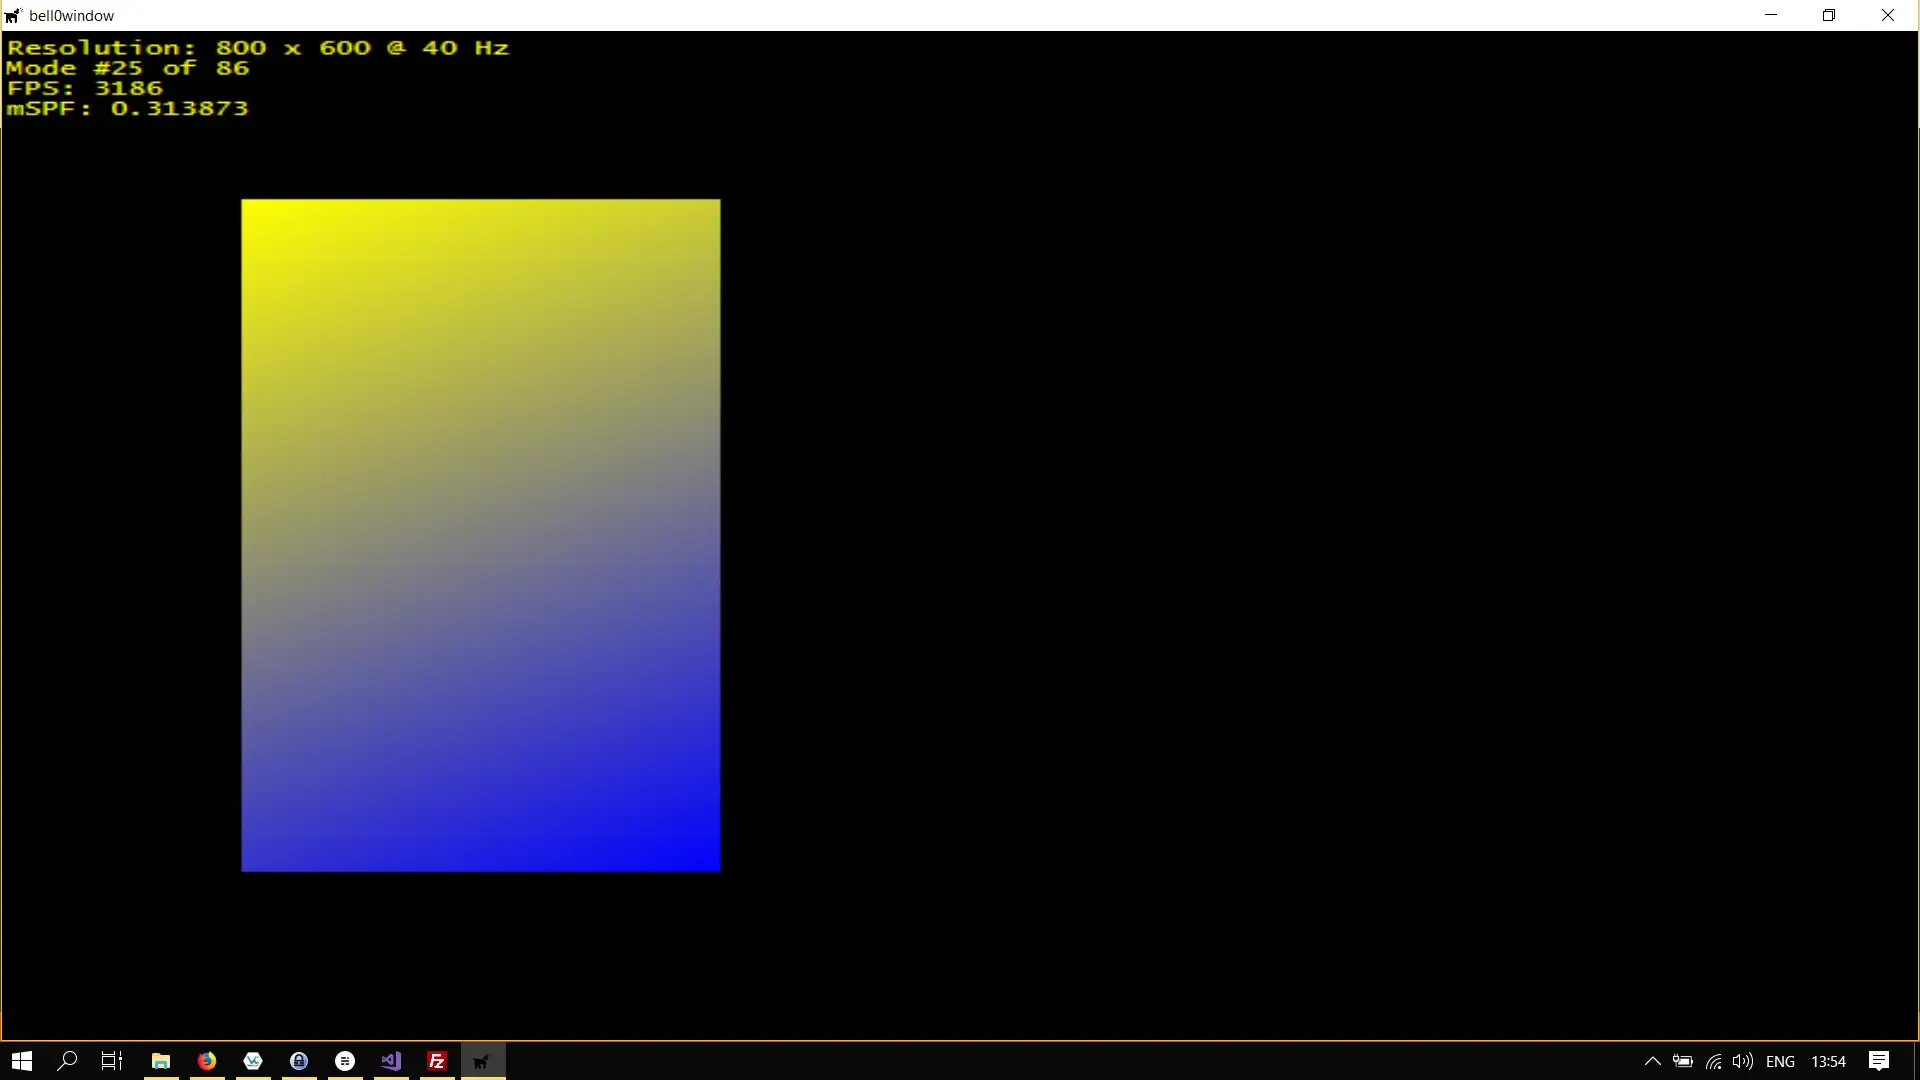
Okay, so now that you have seen an image, let us continue the explanation of what a linear gradient brush actually does. The colours along the gradient axis are computed using linear interpolation between given colours, and the gradient is extended perpendicularly to the axis.
While the start and endpoints can be changed on the fly, the actual colours can not be changed, however, as they form the basis of a rather costly interpolation algorithm.
To define the stops, that is, specific colours that appear at certain points along the gradient axis, we must create an array of D2D1_GRADIENT_STOP structures:
struct D2D1_GRADIENT_STOP { FLOAT position; D2D1_COLOR_F color;};float position
This value indicates the relative position of the gradient stop in the brush. It must be set to a value between 0.0f and 1.0f, if one desires the gradient stop to be seen, else the gradient stop will still affect the gradient change of colours, but it will not be seen explicitly.
D2D1_COLOR_F color
This defines the colour of the stop.
Once the stops are defined, a gradient stop collection must be created using the CreateGradientStopCollection method:
HRESULT CreateGradientStopCollection( [in] D2D1_GRADIENT_STOP *gradientStops, UINT gradientStopsCount, [out] ID2D1GradientStopCollection **gradientStopCollection);D2D1_GRADIENT_STOP *gradientStops
This specifies the stops, given as a pointer to an array of stops.
UINT gradientStopsCount
This value defines the number of gradient stops in the gradientStops array and can most often be set by using the * _countof* function.
ID2D1GradientStopCollection **gradientStopCollection
Once the method returns, this parameter contains a pointer to a pointer to the new gradient stop collection. Check the MSDN for further information.
This sounds complicated, but it is actually quite easy. As an example, we will recreate the Luxembourgish flag with a linear gradient brush:
// define the stopsMicrosoft::WRL::ComPtr<ID2D1GradientStopCollection> stopCollection;D2D1_GRADIENT_STOP stops[] = { { 0.0f, D2D1::ColorF(D2D1::ColorF::Red) }, { 0.5f, D2D1::ColorF(D2D1::ColorF::White)}, { 1.0f, D2D1::ColorF(D2D1::ColorF::Blue) } };if(FAILED(devCon->CreateGradientStopCollection(stops, _countof(stops), stopCollection.GetAddressOf()))) return std::runtime_error("Critical error: Unable to create the gradient stop collection!");To finally create the linear gradient brush, we call the CreateLinearGradientBrush method:
HRESULT CreateLinearGradientBrush( [ref] const D2D1_LINEAR_GRADIENT_BRUSH_PROPERTIES &linearGradientBrushProperties, [in] ID2D1GradientStopCollection *gradientStopCollection, [out] ID2D1LinearGradientBrush **linearGradientBrush);const D2D1_LINEAR_GRADIENT_BRUSH_PROPERTIES &linearGradientBrushProperties
This stores the start and end points of the gradient.
ID2D1GradientStopCollection *gradientStopCollection
This defines the stops to use, that is, the colours and locations of the stops along the gradient line.
ID2D1LinearGradientBrush **linearGradientBrush
When the function returns, this contains the address of a pointer to the newly created brush.
Here is an actual example in C++:
// create the linear gradient brushD2D1_LINEAR_GRADIENT_BRUSH_PROPERTIES linearGradientBrushProperties = {};if(FAILED(devCon->CreateLinearGradientBrush(linearGradientBrushProperties, stopCollection.Get(), linearGradientBrush.ReleaseAndGetAddressOf()))) return std::runtime_error("Critical error: Unable to create the linear gradient brush!");To finally use the brush, we have to define the start and end points of the gradient in a very straightforward way:
// rectangleD2D1_RECT_F rect = { 0, 0, 800, 600 };
d2d->devCon->BeginDraw();
d2d->linearGradientBrush->SetStartPoint(D2D1_POINT_2F({ 0, 0 }));d2d->linearGradientBrush->SetEndPoint(D2D1_POINT_2F({ 0, 600 }));d2d->devCon->FillRectangle(rect, d2d->linearGradientBrush.Get());
if (FAILED(d2d->devCon->EndDraw()))...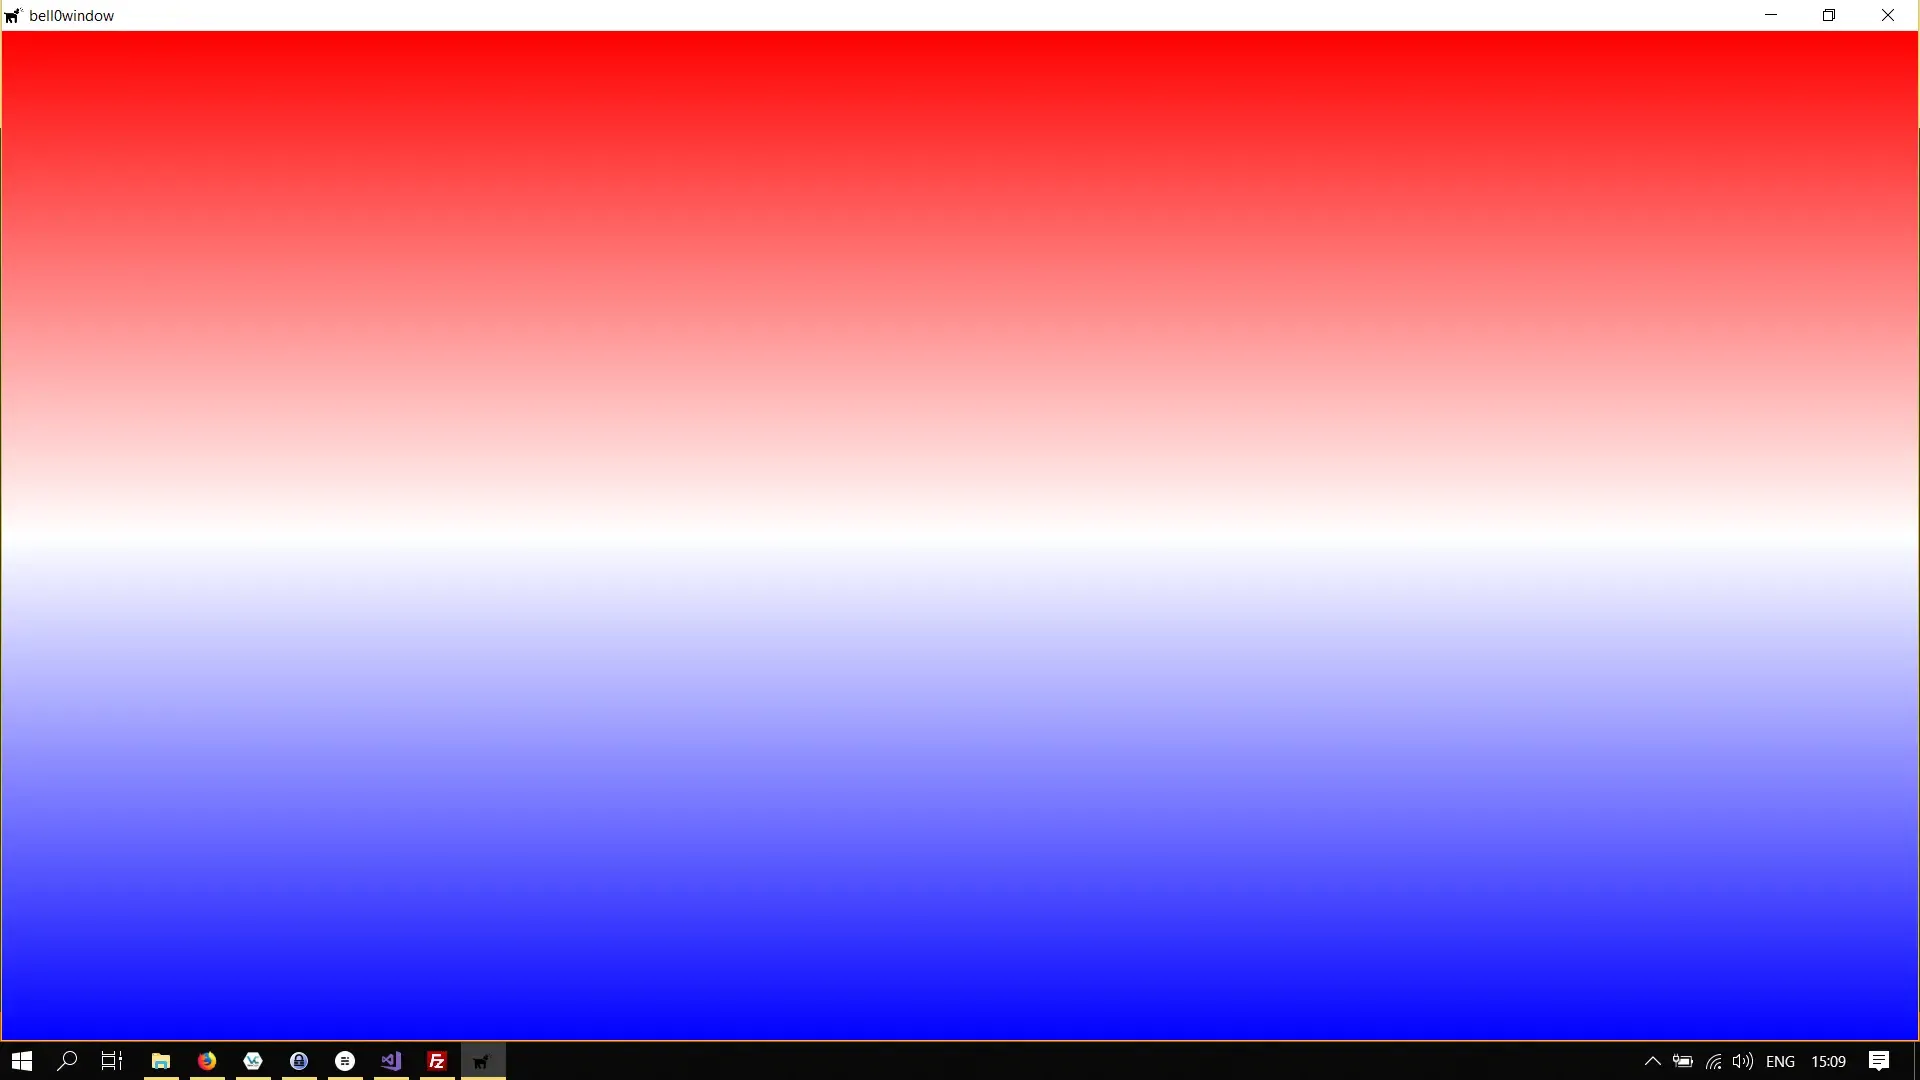
As it so happens, the Luxembourgish flag, drawn with a linear gradient brush, just looks like a sunset on the beach.
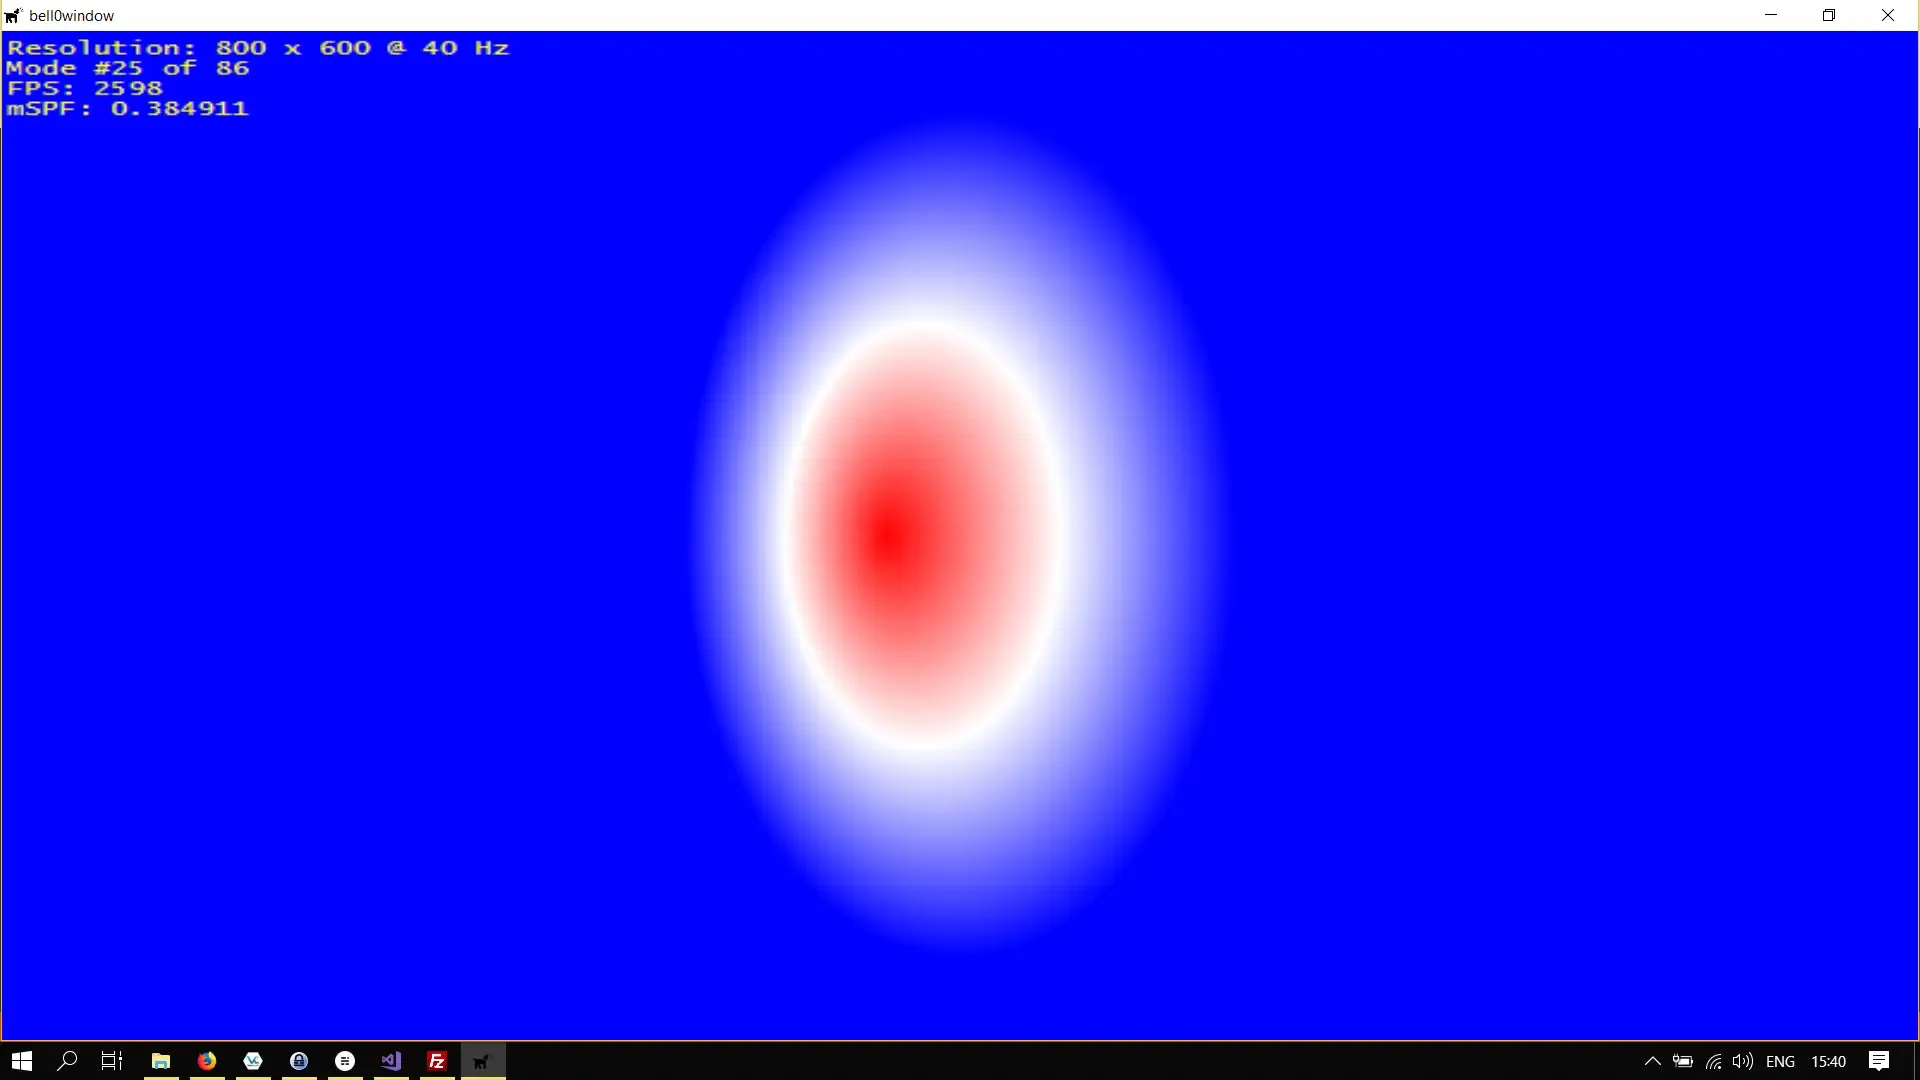
The Radial Gradient Brush
While the linear gradient brush interpolates colours along a gradient axis, the radial gradient brush interpolates colours based on an ellipse, defined by its centre point and both a horizontal and vertical axis, or radius, and an offset from the origin. The gradient stops and gradient stops collection are exactly the same as for the linear gradient brush, with a stop with a relative position of 0 is closest to the centre of the ellipse.
The mathematics behind a radial gradient brush is a bit more complicated, and the algorithms a bit slow, yet thankfully Direct2D hides all the nasty stuff and performs all critical tasks on the GPU!
Creating the radial gradient brush is straightforward now, we simply use the CreateRadialGradientBrush method:
// create the radial gradient brush D2D1_RADIAL_GRADIENT_BRUSH_PROPERTIES radialGradientBrushProperties = {}; if (FAILED(devCon->CreateRadialGradientBrush(radialGradientBrushProperties, stopCollection.Get(), radialGradientBrush.ReleaseAndGetAddressOf()))) return std::runtime_error("Critical error: Unable to create the linear gradient brush!");Using is as just as easy as using the linear gradient brush:
// rectangleD2D1_RECT_F rect = { 0, 0, 800, 600 };
d2d->devCon->BeginDraw();
d2d->radialGradientBrush->SetCenter(D2D1_POINT_2F({ d3d->currentModeDescription.Width / 2.0f, d3d->currentModeDescription.Height / 2.0f }));d2d->radialGradientBrush->SetRadiusX(115.0f);d2d->radialGradientBrush->SetRadiusY(250.5f);
d2d->devCon->FillRectangle(rect, d2d->radialGradientBrush.Get());
if (FAILED(d2d->devCon->EndDraw()))...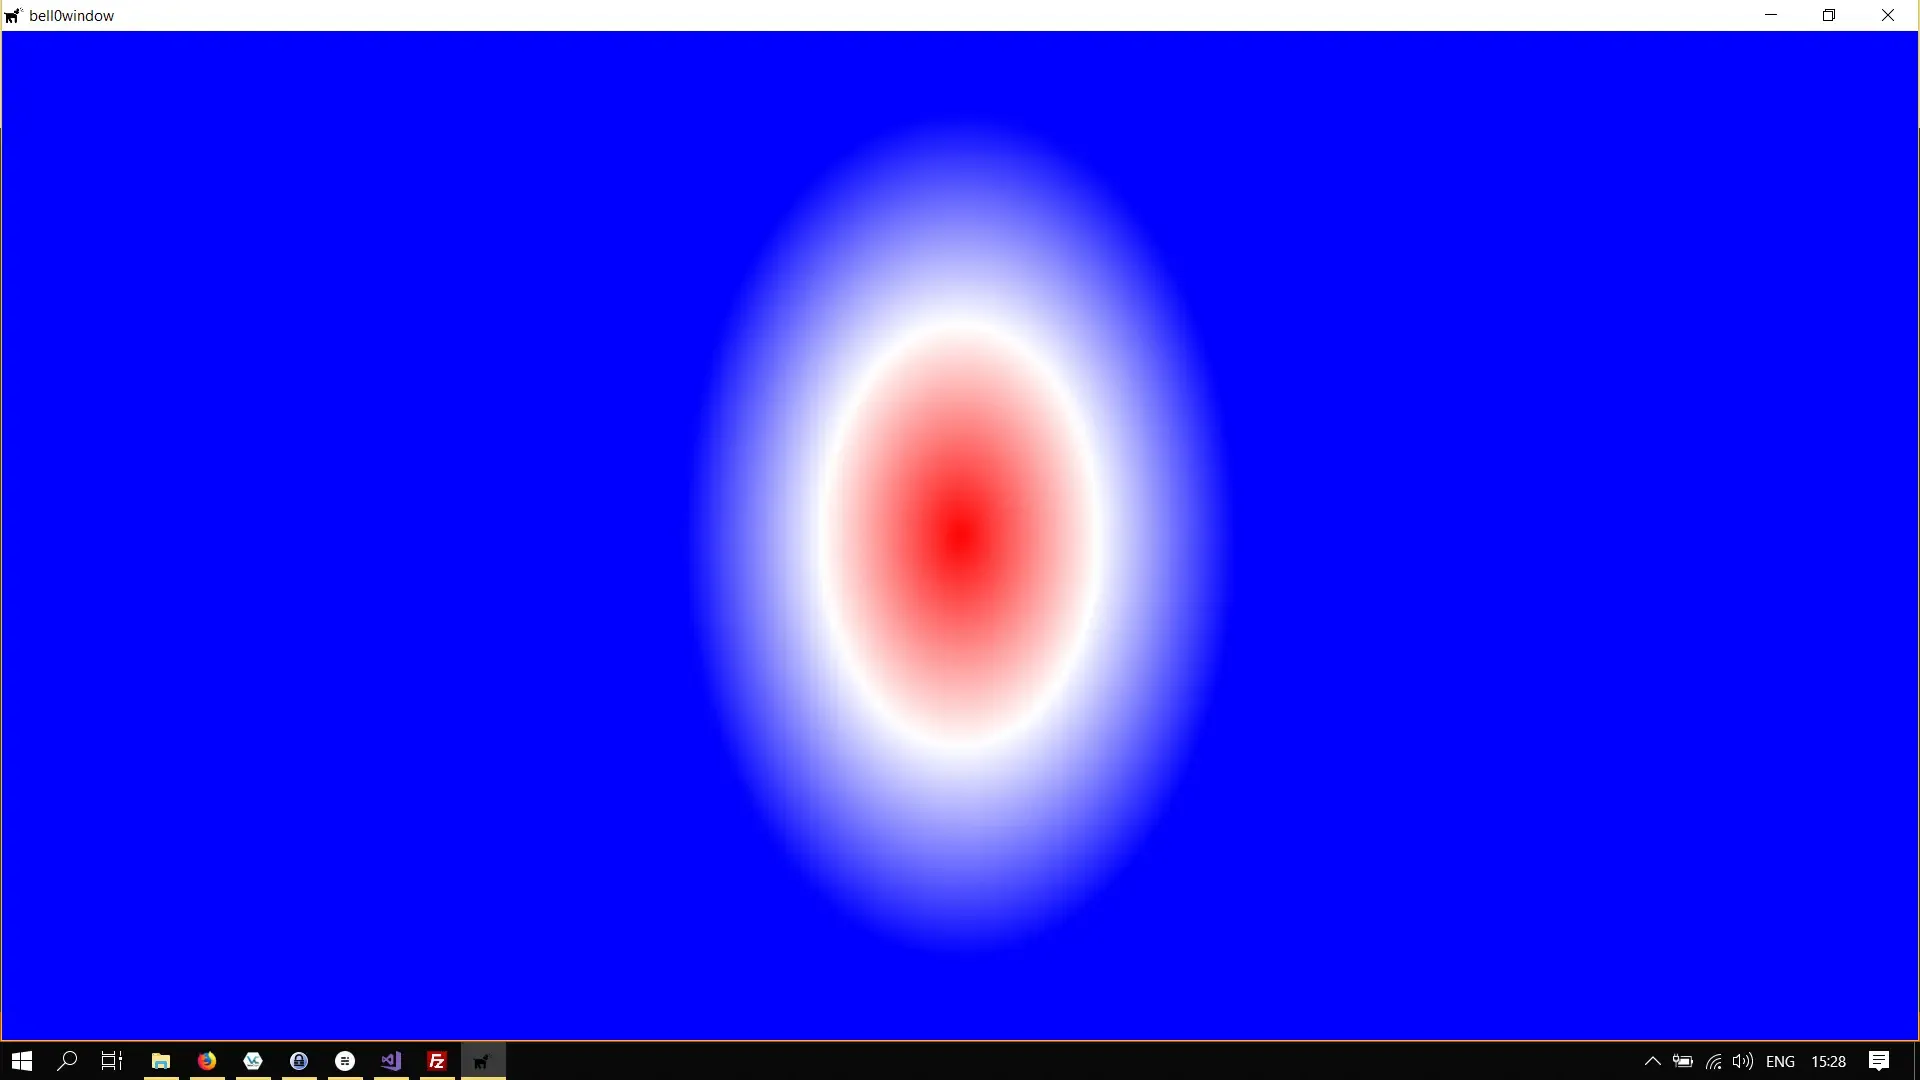
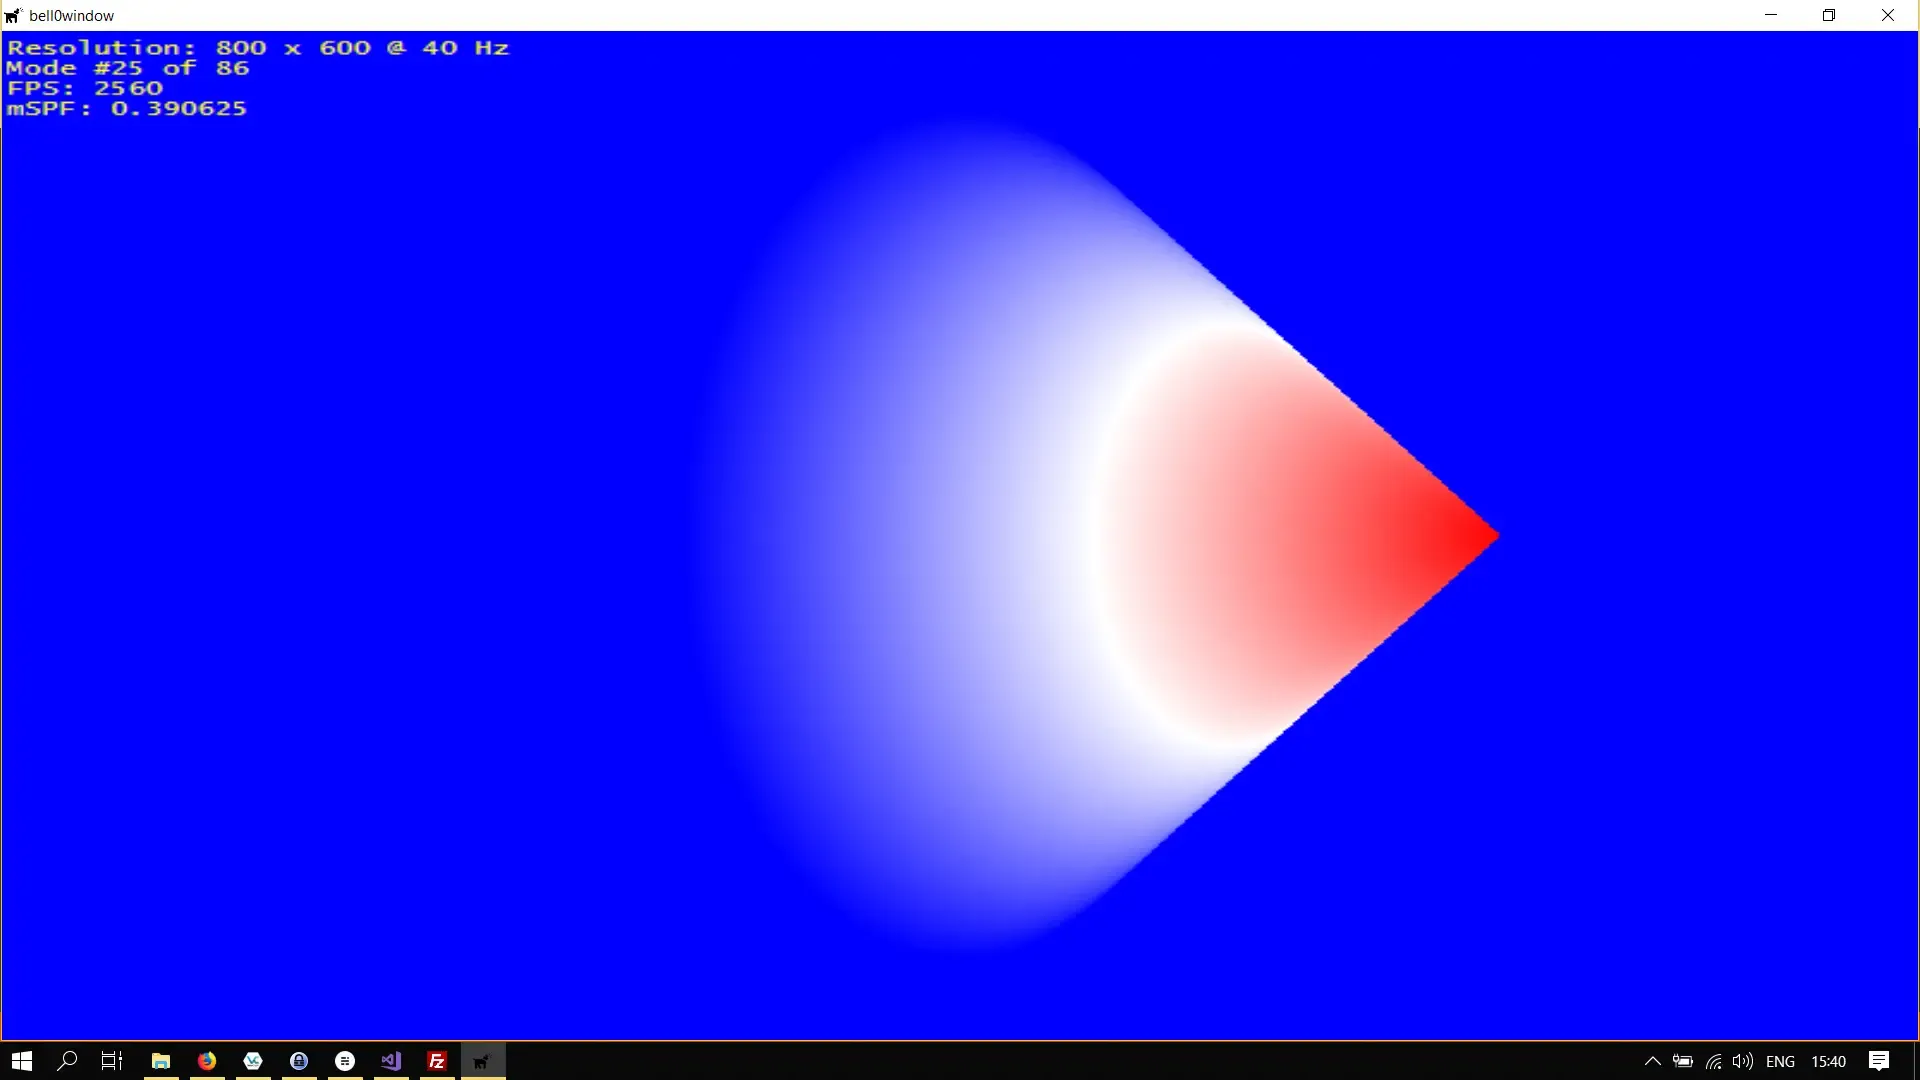
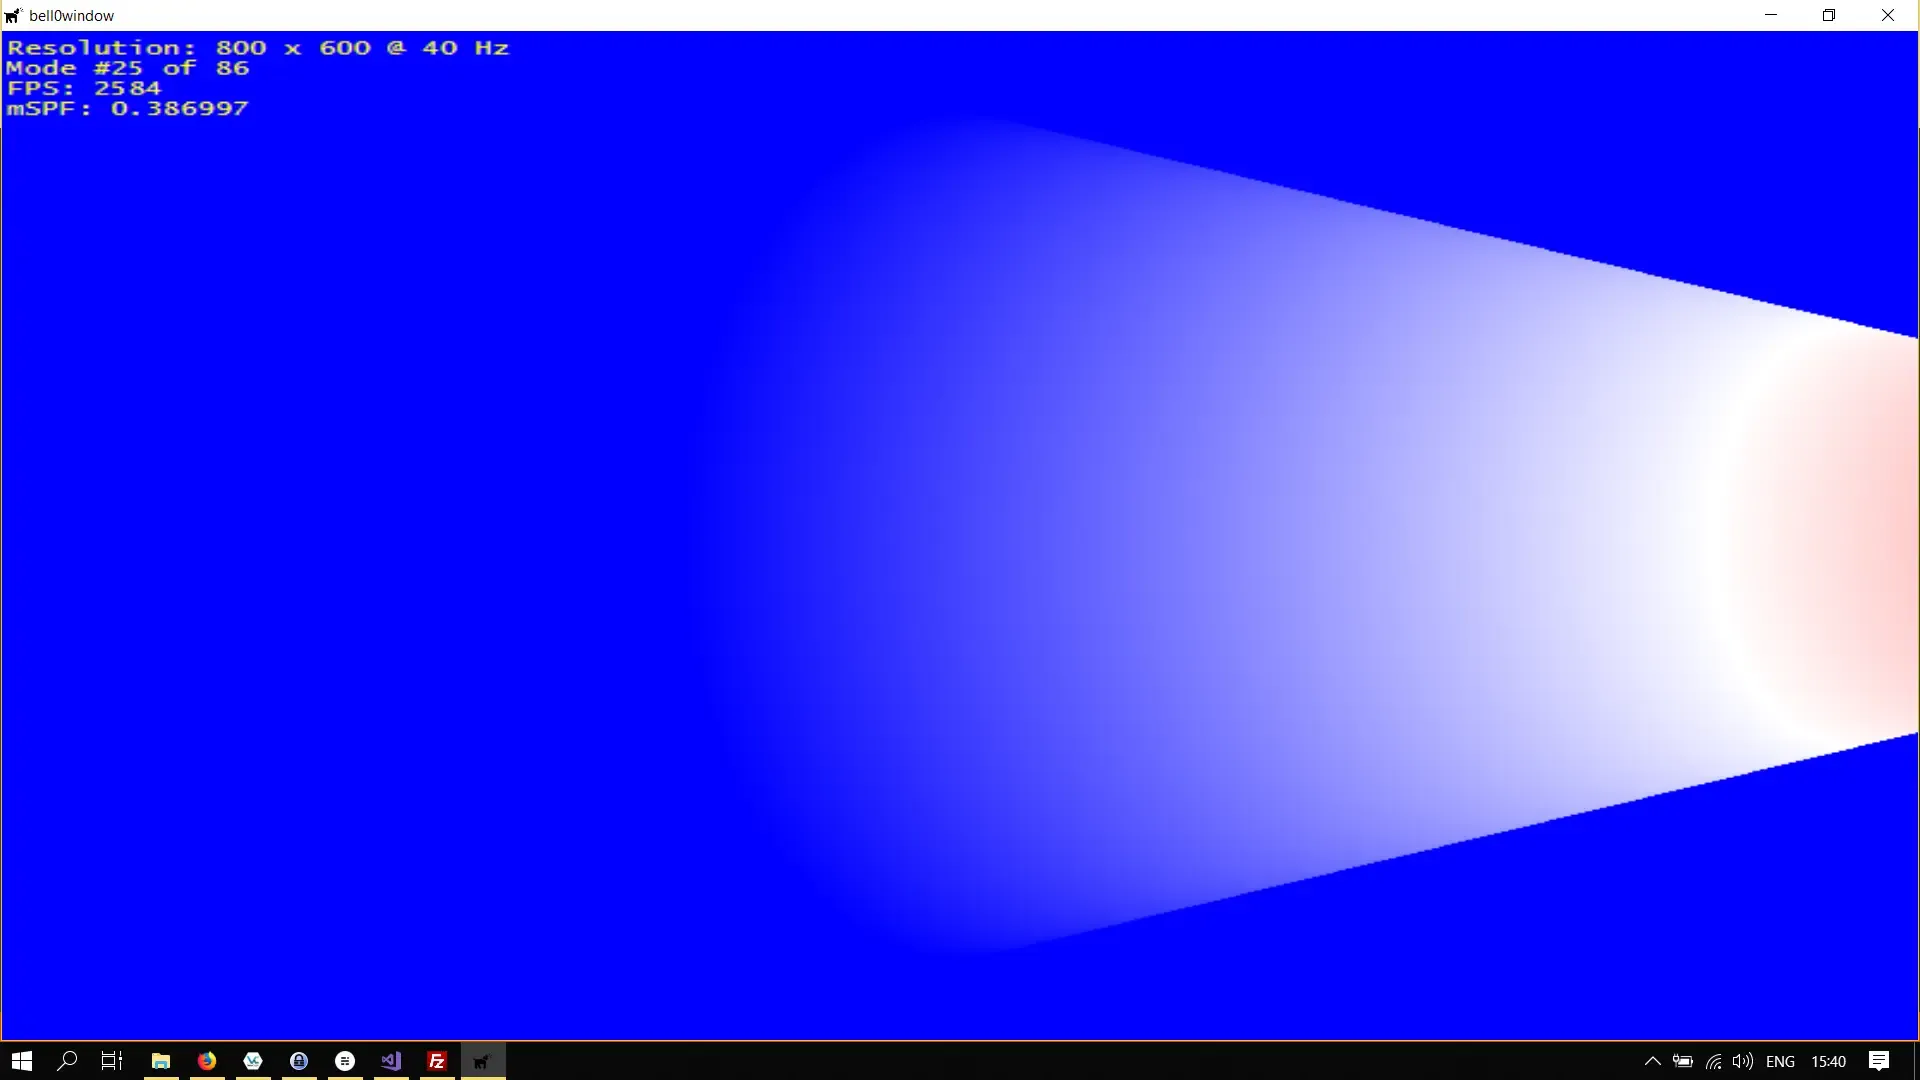
Offset
Note that we have not used the offset parameters yet. To illustrate the effects of the offset, we will let the offset increase over time, from the far-left edge of the screen to the far-right:
if (offsetX < 800 )  offsetX += 0.1f;
// rectangleD2D1_RECT_F rect = { 0, 0, 800, 600 };
d2d->devCon->BeginDraw();
d2d->radialGradientBrush->SetCenter(D2D1_POINT_2F({ d3d->currentModeDescription.Width / 2.0f, d3d->currentModeDescription.Height / 2.0f }));d2d->radialGradientBrush->SetRadiusX(115.0f);d2d->radialGradientBrush->SetRadiusY(250.5f);
d2d->radialGradientBrush->SetGradientOriginOffset(D2D1_POINT_2F({ offsetX, 0}));
d2d->devCon->FillRectangle(rect, d2d->radialGradientBrush.Get());
if (FAILED(d2d->devCon->EndDraw()))...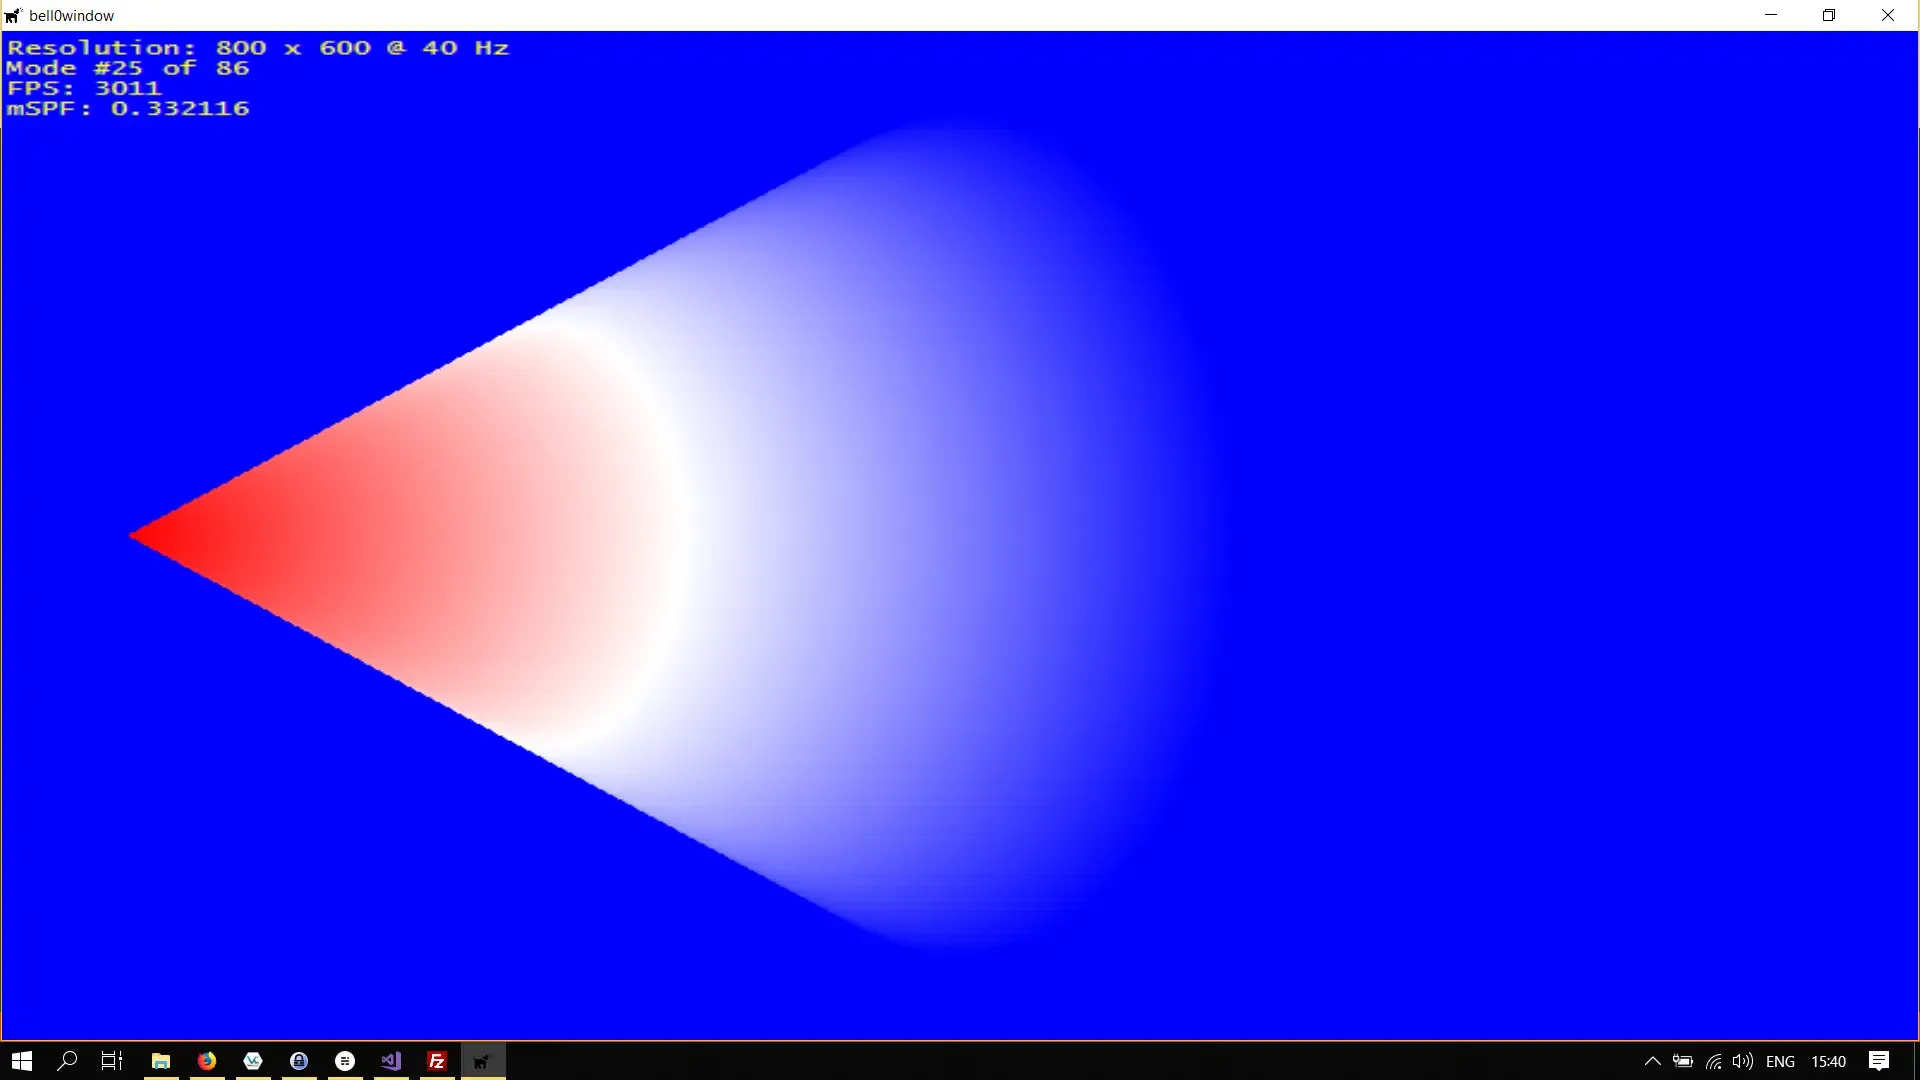
Strokes
So far we have always drawn filled surfaces, what about the equivalent of the draw methods for brushes? Well, those are called strokes and they are used to draw the outlines of geometrical shapes.
Stroke Styles
To specify the looks of a stroke, Direct2D uses so called stroke style properties. Those stroke styles are created by the Direct2D factory and thus do not need to be recreated each time, but they are immutable. Moreover, please note that using dashed, or dotted stroke styles is very FPS heavy!
Stroke styles can define the following properties:
struct D2D1_STROKE_STYLE_PROPERTIES { D2D1_CAP_STYLE startCap; D2D1_CAP_STYLE endCap; D2D1_CAP_STYLE dashCap; D2D1_LINE_JOIN lineJoin; FLOAT miterLimit; D2D1_DASH_STYLE dashStyle; FLOAT dashOffset;};D2D1_CAP_STYLE startCap
D2D1_CAP_STYLE endCap
For open shapes, such as lines, for example, these properties define start and end caps, describing how the ends of the geometric shape are drawn.
D2D1_CAP_STYLE dashCap
This defines the shape at either end of a dashed segment.
D2D1_LINE_JOIN lineJoin
This parameter defines how different lines are joined together.
FLOAT miterLimit
The miter limit defines the maximal thickness of joins on mitered corners. This value is always treated as greater or equal to 1.
D2D1_DASH_STYLE dashStyle
This parameter defines the dash style of a stroke.
FLOAT dashOffset
This value specifies the offset in the dash sequence.
A Dashed Rectangle
As an example of the above theoretical discussion, we will create a rectangle with a dashed outline and rounded corners:
D2D1_STROKE_STYLE_PROPERTIES strokeProperties = { };strokeProperties.lineJoin = D2D1_LINE_JOIN_ROUND;strokeProperties.dashStyle = D2D1_DASH_STYLE_DASH_DOT_DOT;strokeProperties.dashCap = D2D1_CAP_STYLE_ROUND;To actually create the style, we use the CreateStrokeStyle method:
HRESULT CreateStrokeStyle( [in] const D2D1_STROKE_STYLE_PROPERTIES1 *strokeStyleProperties, [in] const FLOAT *dashes, UINT dashesCount, [out] const ID2D1StrokeStyle1 **strokeStyle);const D2D1_STROKE_STYLE_PROPERTIES1 *strokeStyleProperties
This parameter takes the stroke style properties we defined above.
const FLOAT *dashes
This array specifies the widths for the dashes and gaps.
UINT dashesCount
This unsigned integer defines the size of the dash array.
ID2D1StrokeStyle1 **strokeStyle
When the method returns, this parameter contains the address of a pointer to the newly created stroke style.
if(FAILED(factory->CreateStrokeStyle(strokeProperties, nullptr, 0, dashedStroke.GetAddressOf()))) return std::runtime_error("Critical error: Unable to create the dashed stroke style!");Now to actually draw the rectangle with the given style, we use the overloaded DrawRectangle method, as follows:
d2d->devCon->BeginDraw();
D2D1_RECT_F rect = { 200, 200, 600, 300 };d2d->devCon->DrawRectangle(rect, d2d->yellowBrush.Get(), 5, d2d->dashedStroke.Get());
if (FAILED(d2d->devCon->EndDraw()))  ...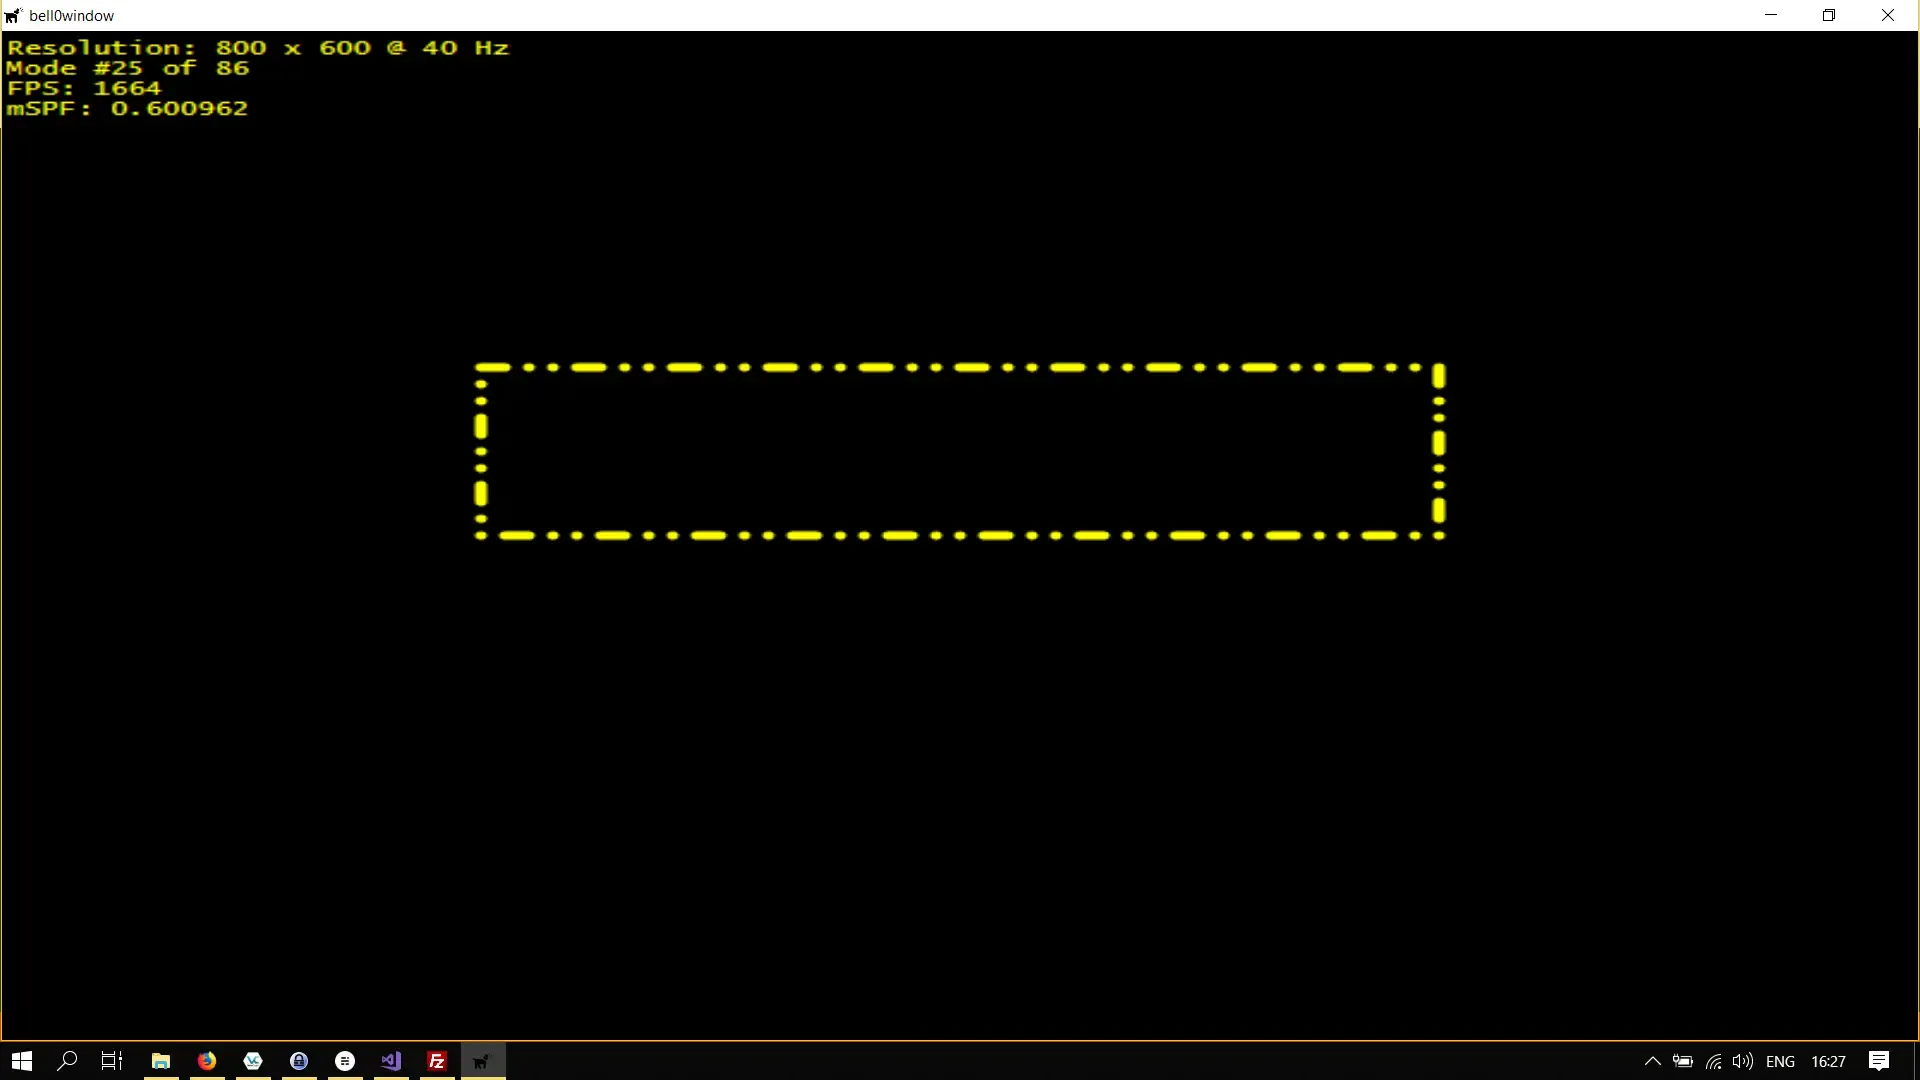
So much for brushes for now. In the next tutorial, we will have a look at creating intrinsic geometric shapes.
You can download the updated DirectX Framework with more brushes and strokes from here.
References
- Microsoft Developer Network (MSDN)
- Wikipedia